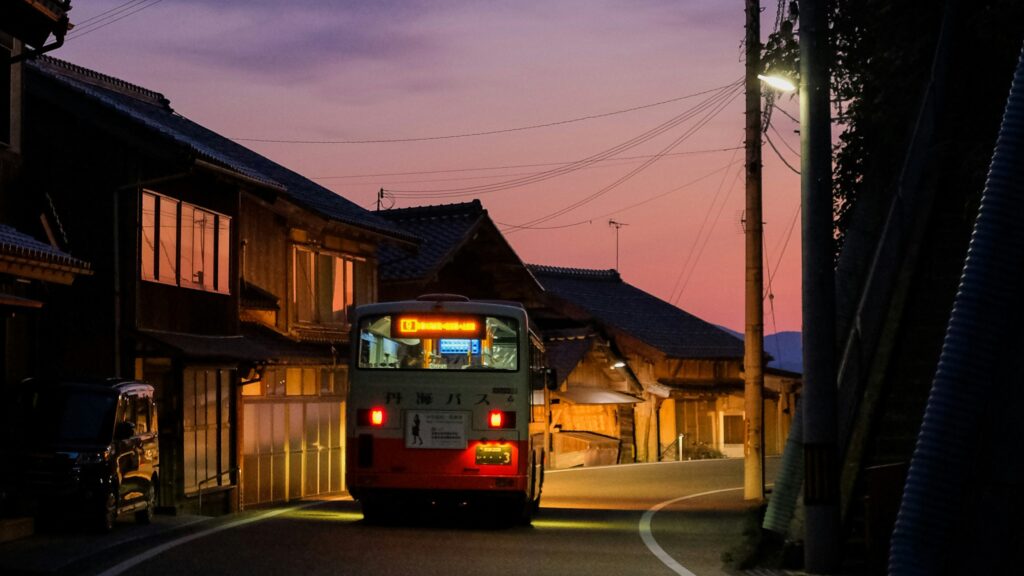
When traveling in Japan, you will sometimes come across places that are difficult to reach by train alone. Hot spring towns in the mountains, small-town shrines and temples, museums, lakes, and waterfalls are often easier to reach by local bus.
At first, Japan’s bus system can seem confusing because boarding and payment methods vary slightly by region and route. On some buses, you board at the front; on others, you board through the rear or middle door. Some routes collect the fare when you board, while others collect it when you get off.
The good news is that you do not need to memorize every bus rule in Japan. If you check a few things before boarding and pay attention to the equipment near the entrance, you can avoid most of the confusion.
What to Check Before You Board
Check the Information at the Bus Stop
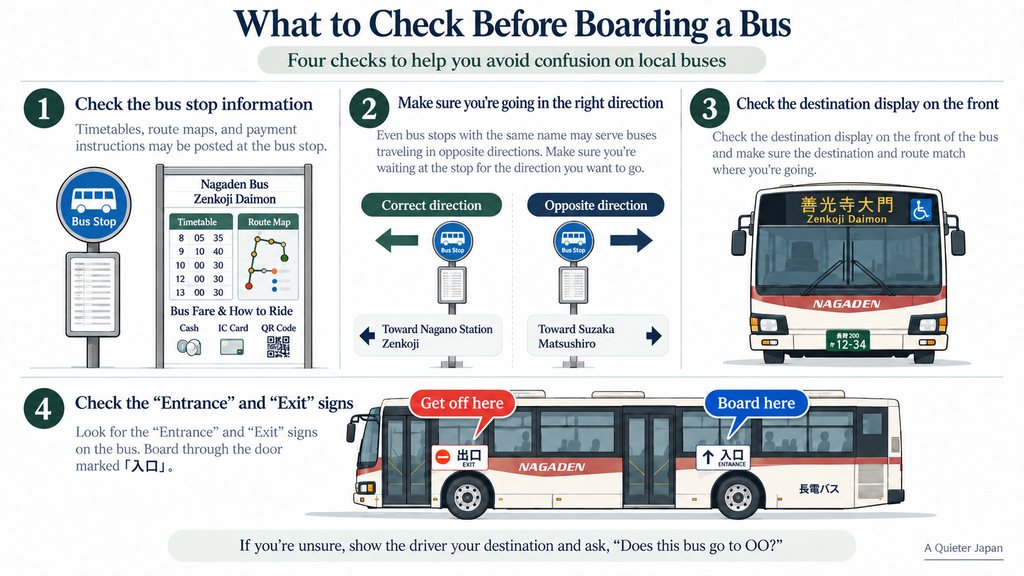
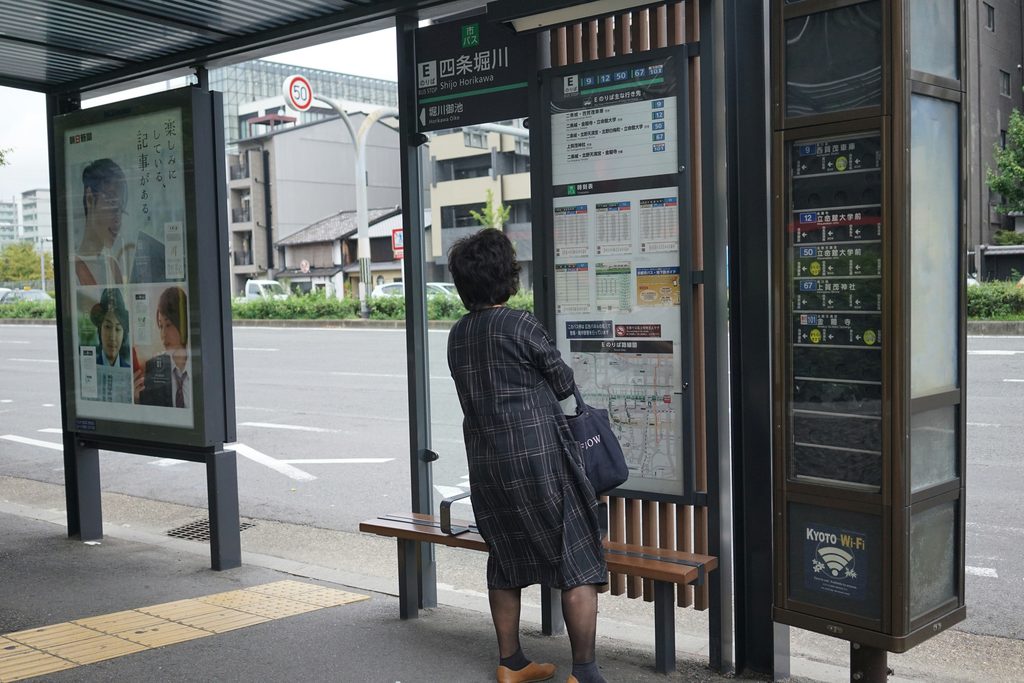
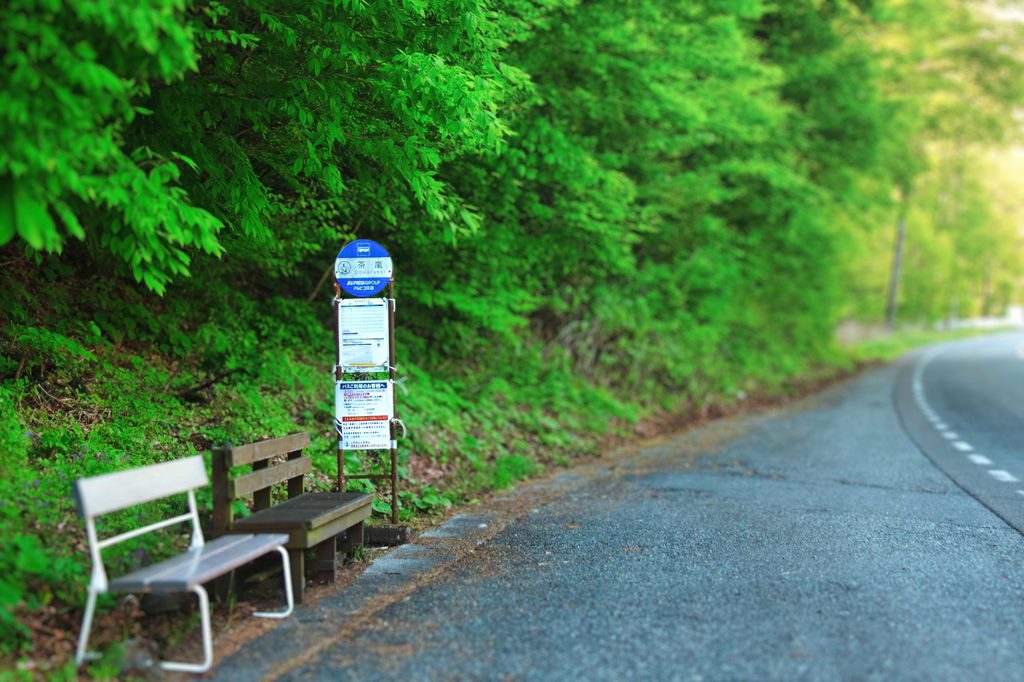
Start by taking a careful look at the bus stop. In addition to the timetable, some stops display information about how to board and how to pay on that particular route.
Bus stops on the same road may serve opposite directions, so make sure you are waiting on the side that will take you toward your destination. Around major stations, the same bus stop name may be divided among several boarding areas, so checking the boarding area number and route number can help you avoid mistakes.
When the Bus Arrives, Check the Destination Display
When the bus arrives, look at the destination display on the front. Do not rely on the route number alone. Check the destination and, if shown, the major stops along the route. Even buses with the same route number may take different branches or terminate before reaching your stop.
If you are unsure, you can show the Japanese name of your destination on your phone and ask the driver, “Does this bus go to ___?” Kono basu wa ___ e ikimasu ka?
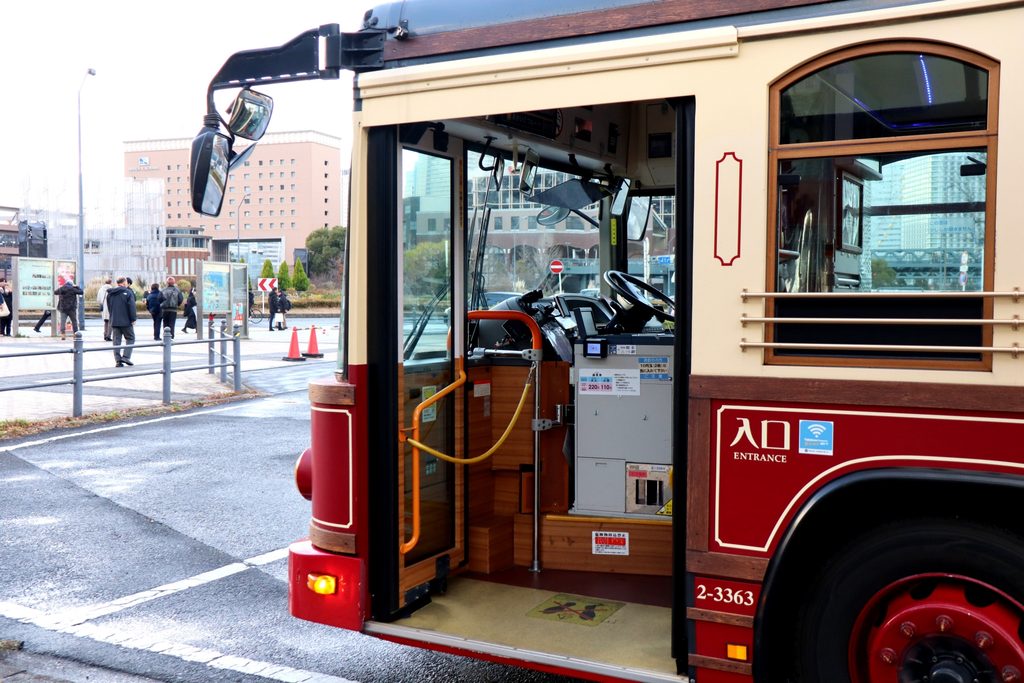
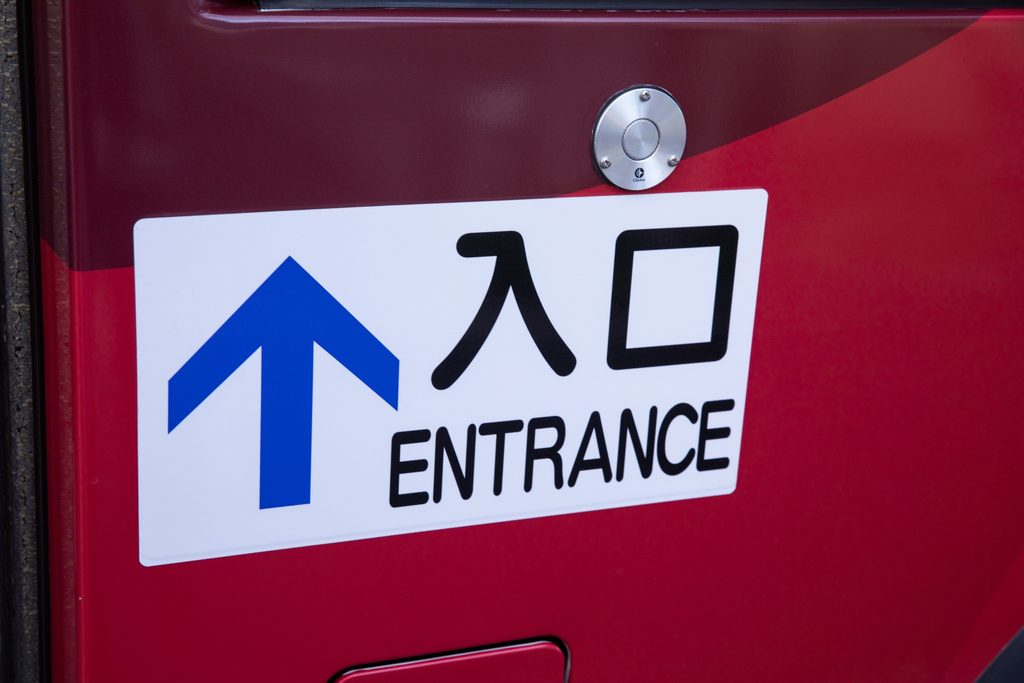
Check the “Entrance” and “Exit” Signs
Before boarding, look for signs showing which door is the entrance and which is the exit.
1. Three Common Local Bus Patterns in Japan
There are many small variations, but most local buses that travelers are likely to encounter can be understood as one of three basic patterns.
Pattern 1: Board from the Rear or Middle Door → Exit from the Front → Pay When You Get Off
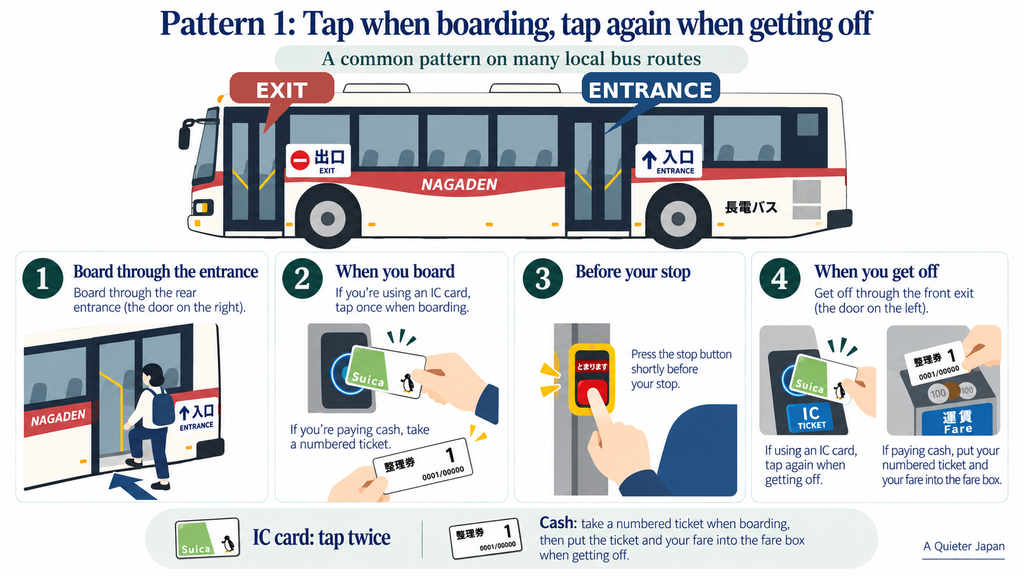
This pattern is common on local routes with distance-based fares. If you are using an IC card, tap when you board, then tap again when you get off. The first tap records where you boarded, and the second calculates the fare for your trip.
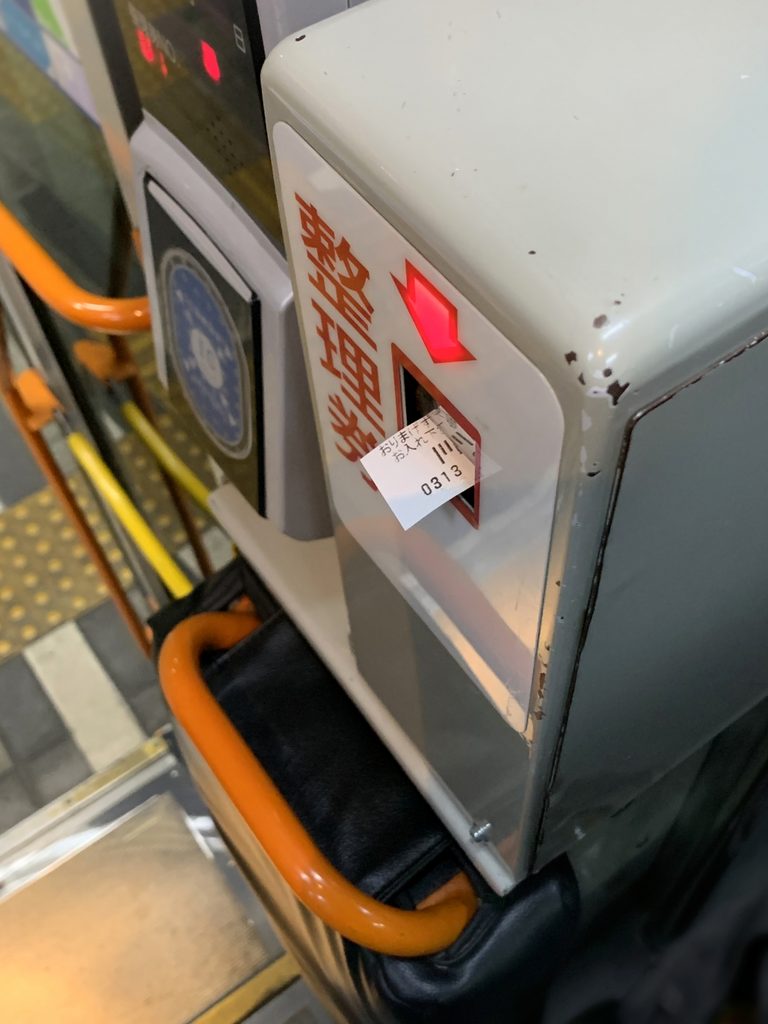
If you are paying cash and there is a numbered-ticket dispenser near the entrance, take one as you board. When you get off, put the numbered ticket and the correct cash fare into the fare box.
Pattern 2: Board from the Front → Exit from the Rear or Middle Door → Pay When You Board
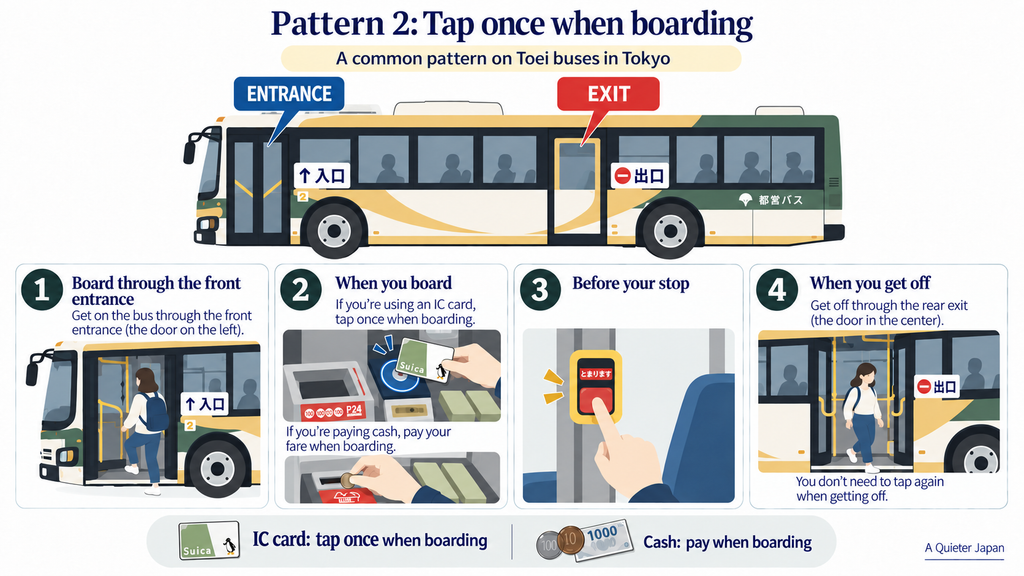
This pattern is used by some city bus systems, including Toei Bus in Tokyo’s 23 wards. You pay your fare when you get on. With an IC card, tap once when boarding. Because you have already paid, you do not need to tap again when you get off.
Pattern 3: Board from the Rear → Exit from the Front → Pay When You Get Off
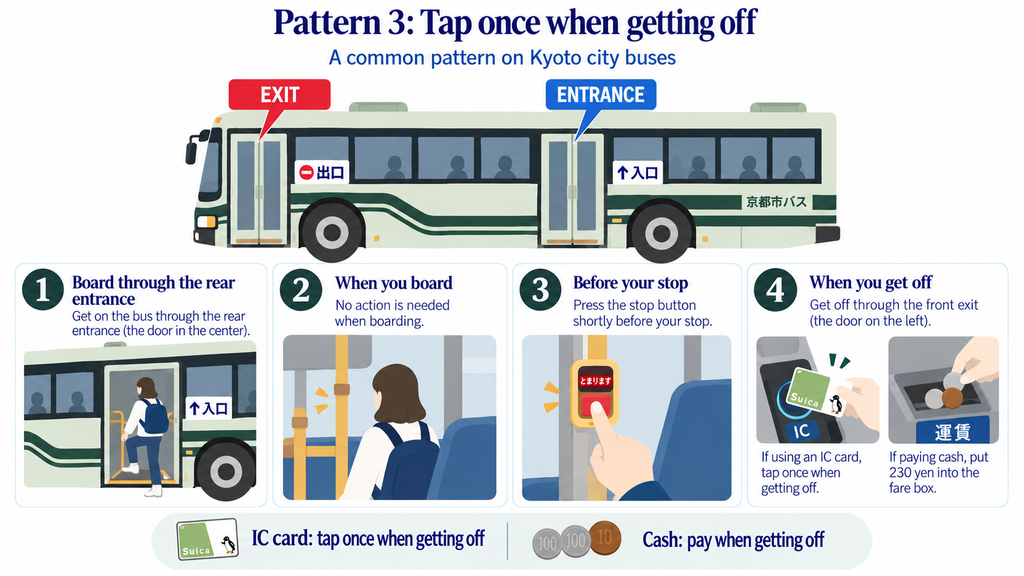
This pattern is used on routes such as Kyoto City Bus services within the flat-fare area. You do not pay when boarding; simply get on. If you are using an IC card, tap once when you get off. If you are paying cash, you also pay when you get off.
You Do Not Need to Memorize All Three Patterns
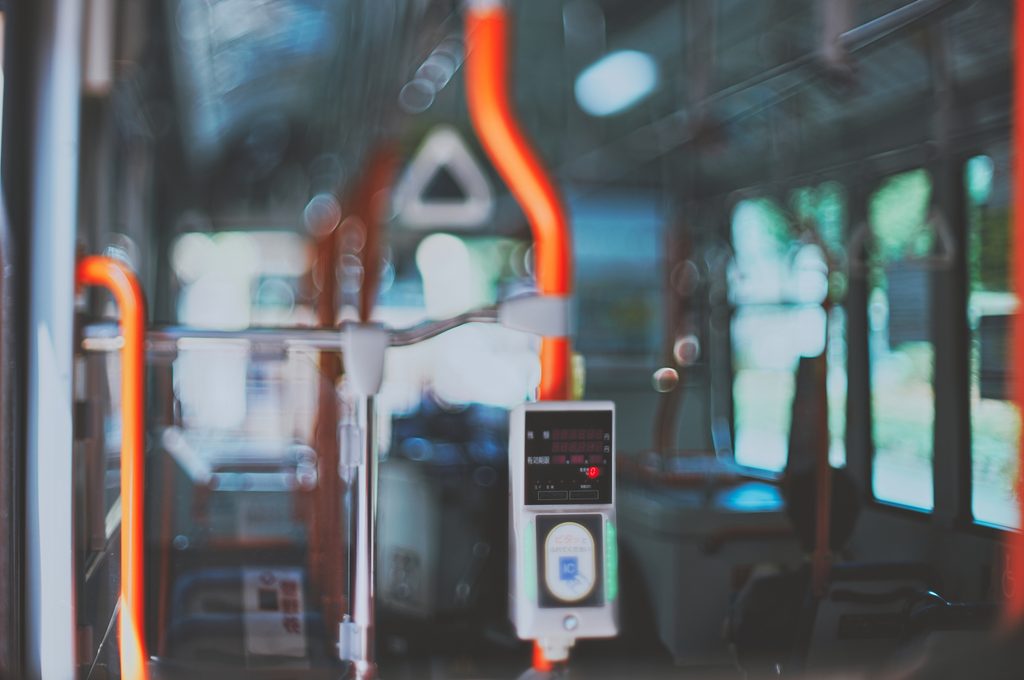
While traveling, there is no need to stop and think, “Which pattern is this?” every time you board a bus. The easiest approach is simply to check what is at the entrance.
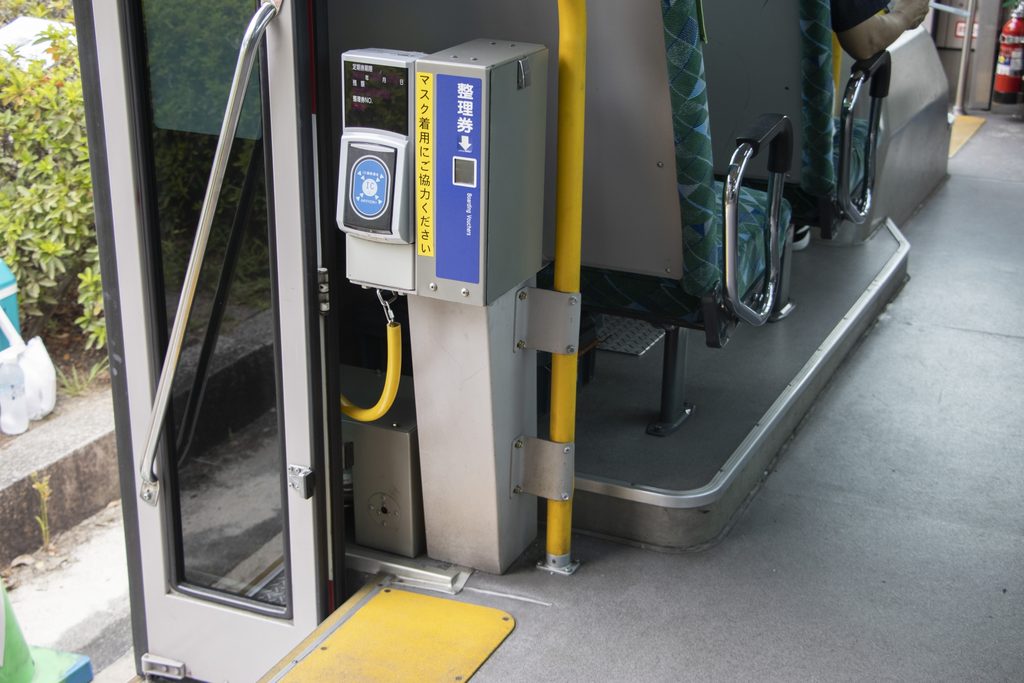
- If there is an IC card reader, tap your card as you board.
- If you are paying cash and there is a numbered-ticket dispenser, take a ticket.
- If there is neither, simply board.
Remembering these basic steps will work on many local bus routes.
Before You Get Off
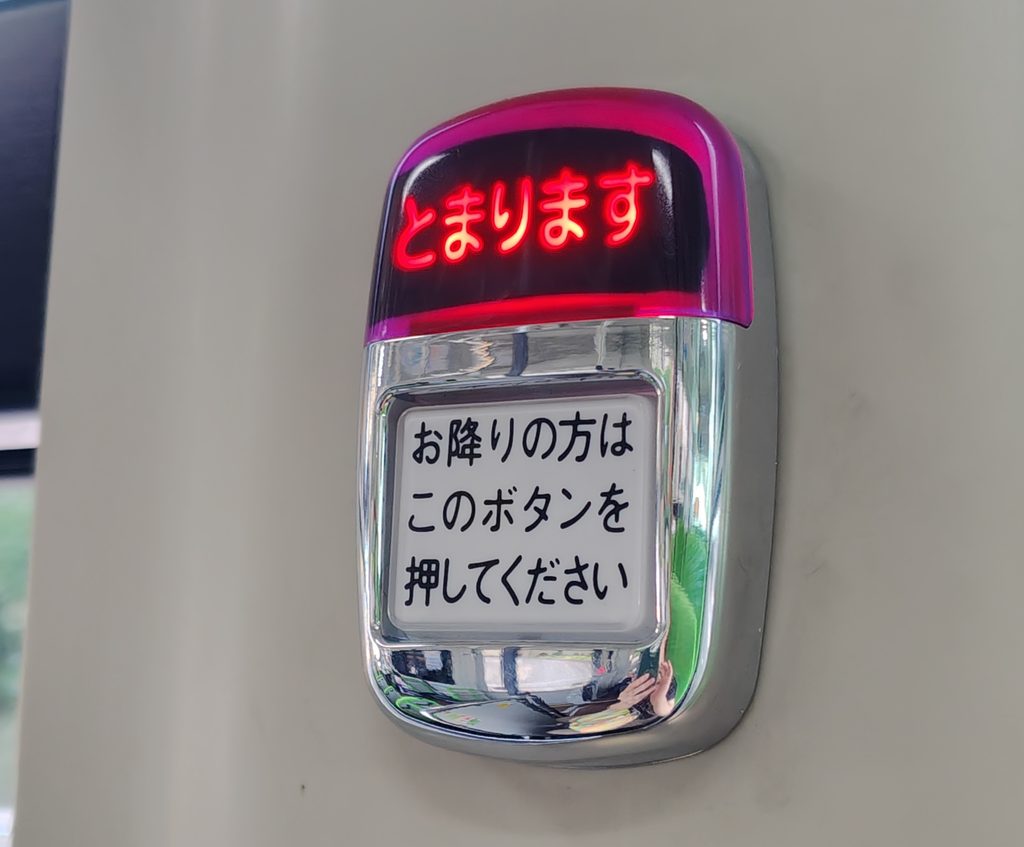
When your destination is announced as the next stop, press the stop button promptly. Local buses in Japan do not necessarily stop at every bus stop, so pressing the button lets the driver know that someone wants to get off.
You can have your wallet or IC card ready, but there is no need to move toward the exit while the bus is still moving. Wait until the bus has come to a complete stop.
2. How to Pay
On local buses in Japan, fares are usually paid with an IC card or cash. Some routes also accept contactless credit card payments.
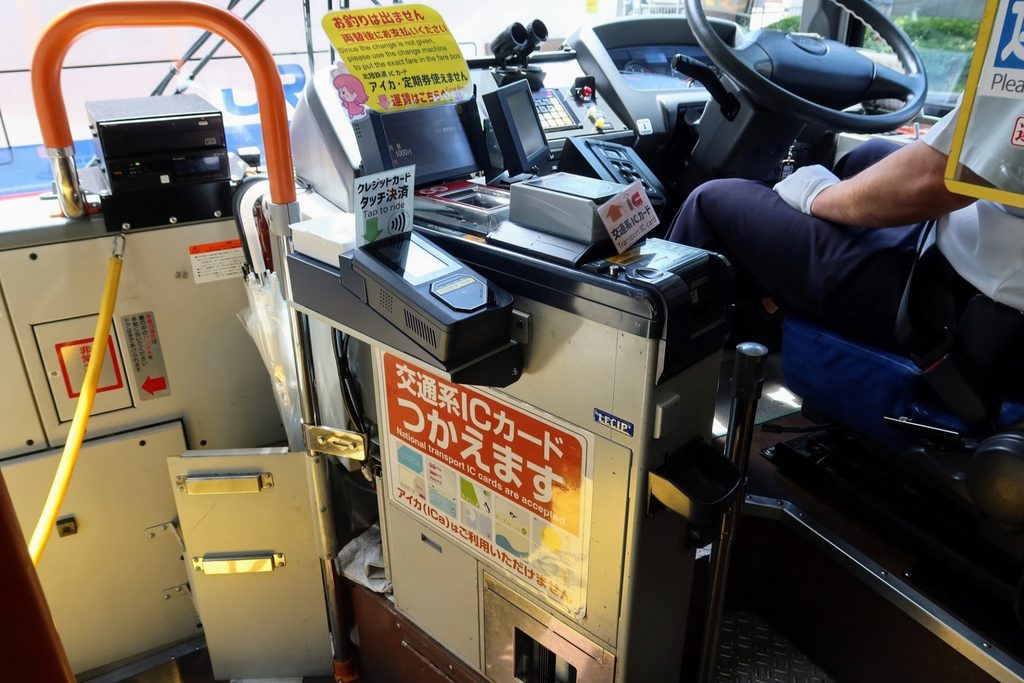
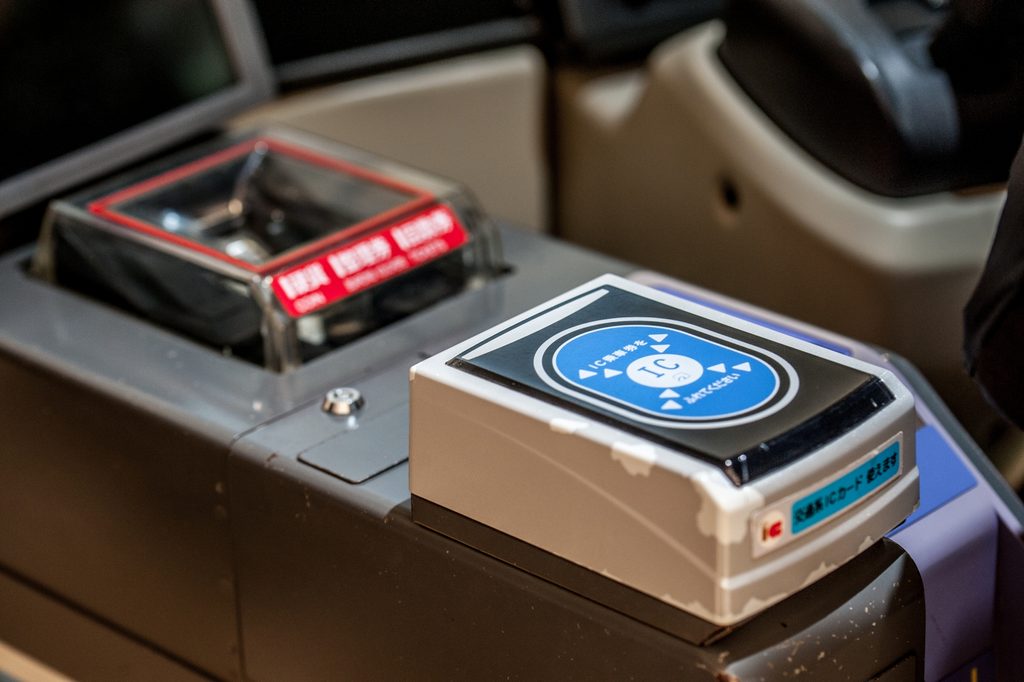
IC Cards
IC cards such as Suica, PASMO, and ICOCA can be used on many trains and buses in Japan. Using one can make paying on local buses relatively simple, as long as the route accepts it.
The basic idea is: if there is an IC card reader at the entrance, tap your card as you board. If there is another reader when you get off, tap again. On routes where you pay when boarding, you may only need to tap once at the entrance. On flat-fare routes where you pay when getting off, you may only need to tap once as you exit.
However, Suica, PASMO, and similar cards are not accepted on every bus in Japan. Some local routes, especially in rural areas, do not accept major IC cards such as Suica, PASMO, or ICOCA. Even if you plan to rely mostly on an IC card, it is a good idea to carry a small amount of cash as a backup.
Where Can You Get an IC Card?
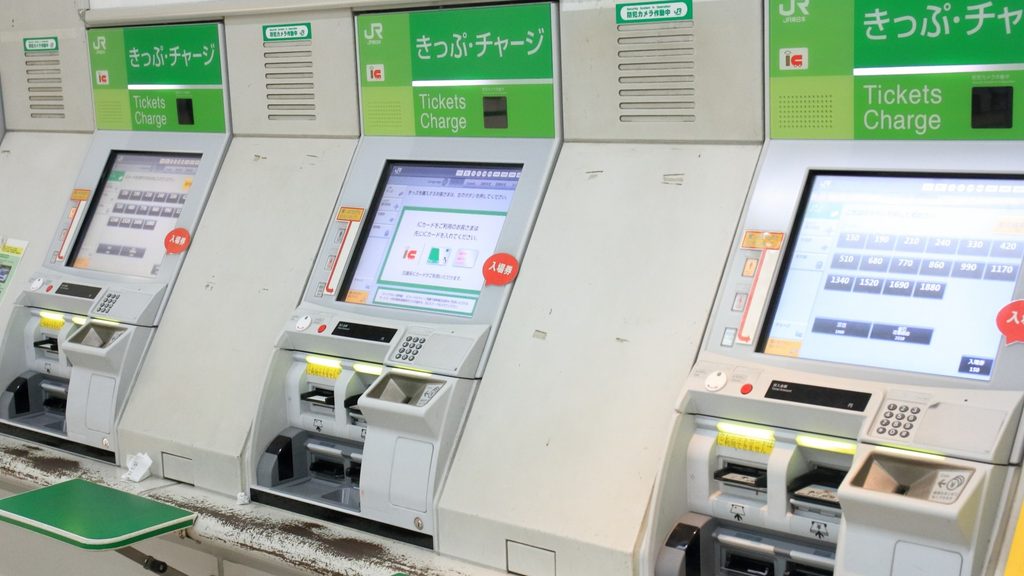
Japan has several regional IC cards, including Suica, PASMO, and ICOCA. For most travelers, it does not have to be Suica specifically. Any card that is part of the nationwide interoperable IC card network can be used on participating trains and buses.
In the JR East area, physical Suica cards can be purchased from certain ticket machines and station service counters.
Welcome Suica Mobile Is Convenient for iPhone Users
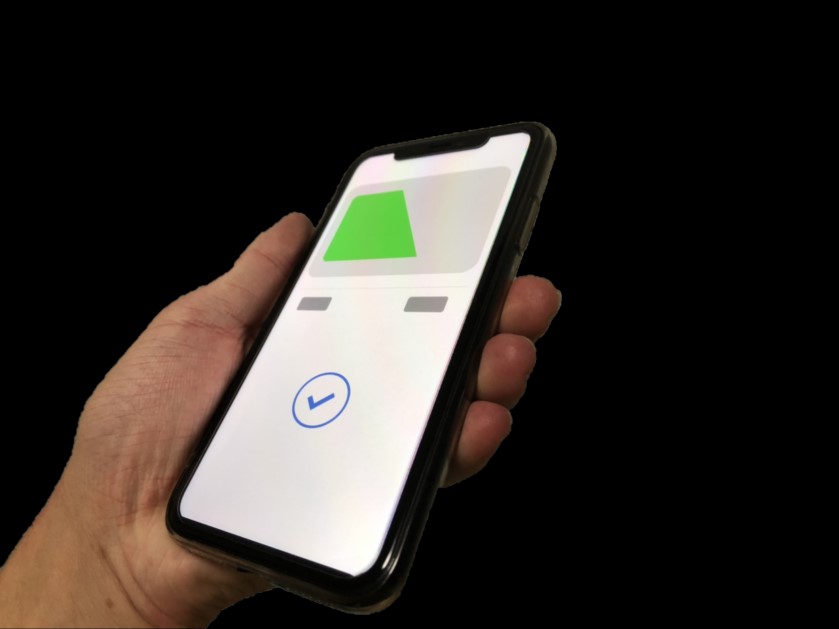
For international visitors with a compatible iPhone, JR East’s Welcome Suica Mobile can also be a convenient option. You can create a Suica directly on your iPhone and add funds using a card added to Apple Pay, so there is no need to buy a physical card.
However, not every smartphone works in the same way. Availability and compatibility differ on Android devices and other phones, so check the official information before relying on this option.
Cash
Cash is accepted on many local buses. However, some fare boxes give change, while others require the exact fare.
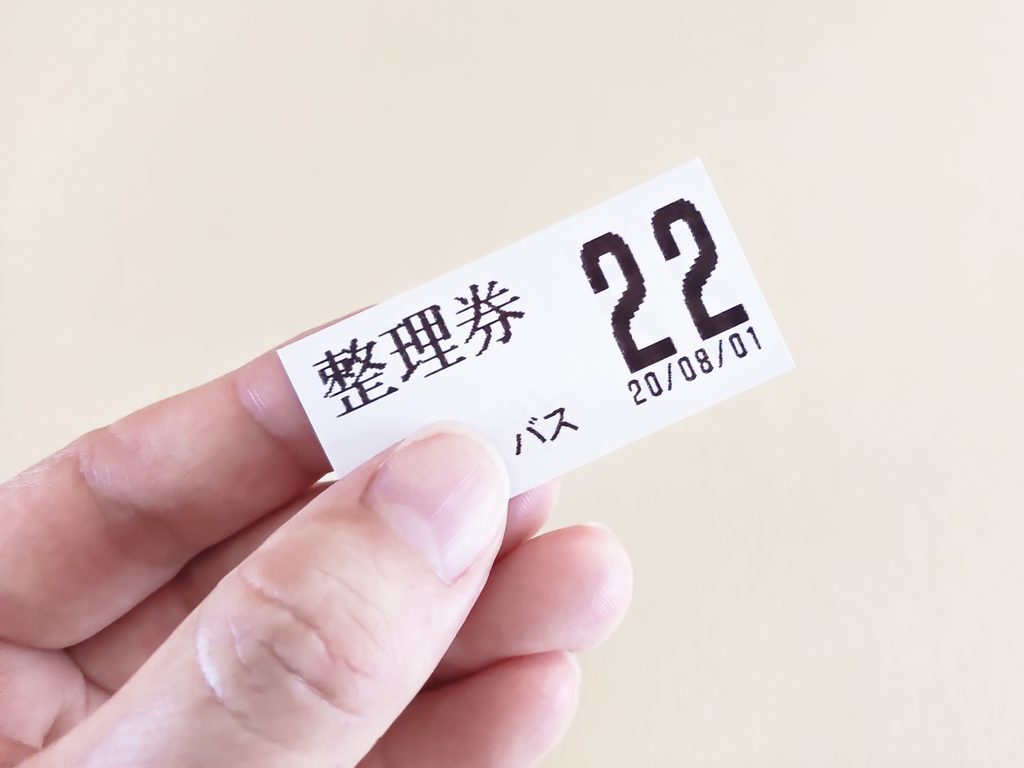
If you plan to pay cash, first check the entrance area as you board. If there is a numbered-ticket dispenser near the entrance, take one ticket when you board. The ticket will have a number printed on it.
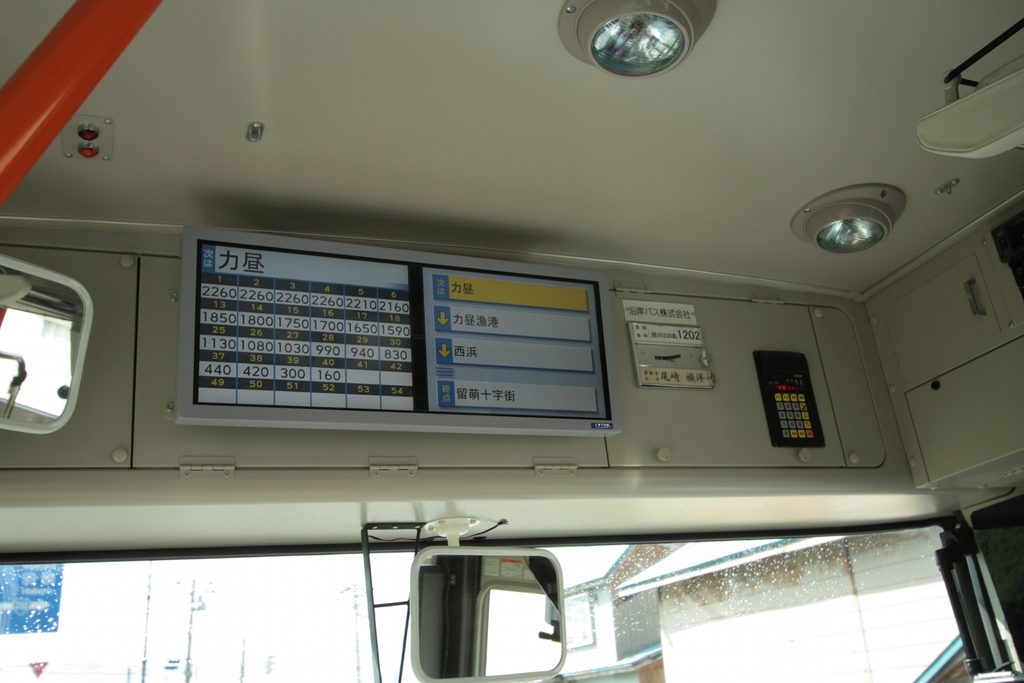
Before getting off, look at the fare display near the front of the bus. Find the number that matches your ticket and check the fare shown, then put the correct amount of cash and the numbered ticket into the fare box.
This numbered ticket is not a ticket in the usual sense. It simply shows where you boarded the bus. If you forget to take one, tell the driver where you got on. For example, you can say, “I boarded at Kawaguchiko Station.” Kawaguchiko-eki kara norimashita. You can also show the stop name on your phone.
If there is no numbered-ticket dispenser at the entrance, simply board. On buses where you pay when boarding, pay the cash fare as you get on. On buses where you pay when getting off, pay as you exit.
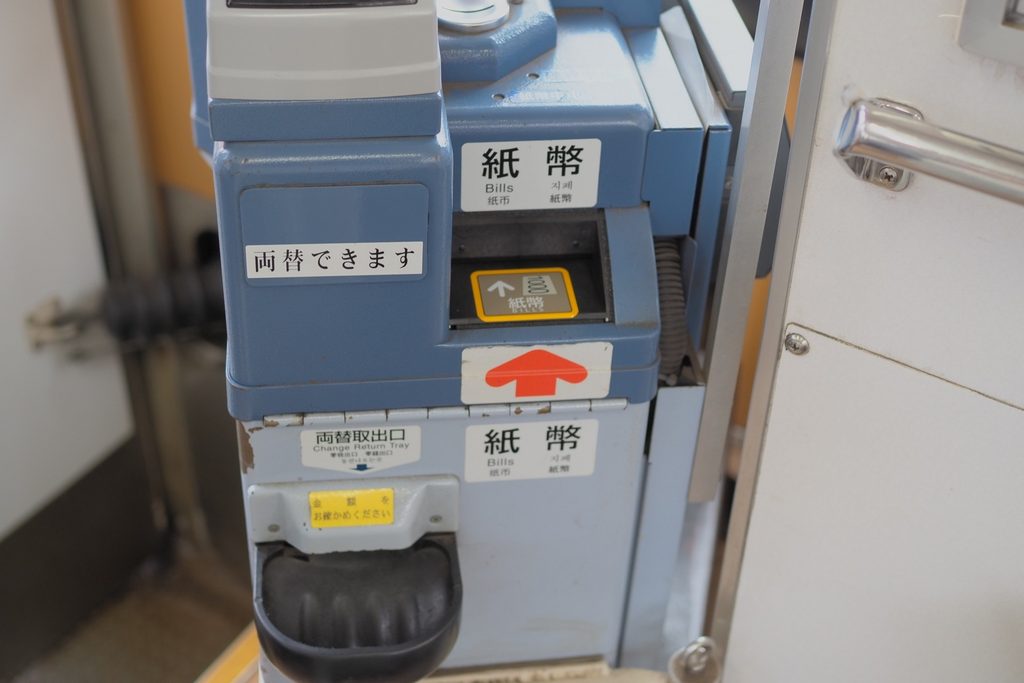
Buses that require the exact fare may have a change machine near the fare box. In this case, making change and paying your fare are two separate steps. For example, if you insert a ¥1,000 bill into the change machine, take the coins it returns and then put only the exact fare into the fare box.
Some buses may not accept ¥5,000 or ¥10,000 bills. If there is a chance you will need to pay cash, carrying a few ¥1,000 bills and some coins can make things much easier.
Credit Cards
Some local buses accept contactless payment with Visa or other supported credit cards. However, this is still much less widely accepted than paying with an IC card, and on some buses the contactless credit card terminal is separate from the IC card reader.
Do not rely on a credit card alone. Check in advance whether your bus route supports contactless card payments.
3. Things to Keep in Mind When Using Local Buses
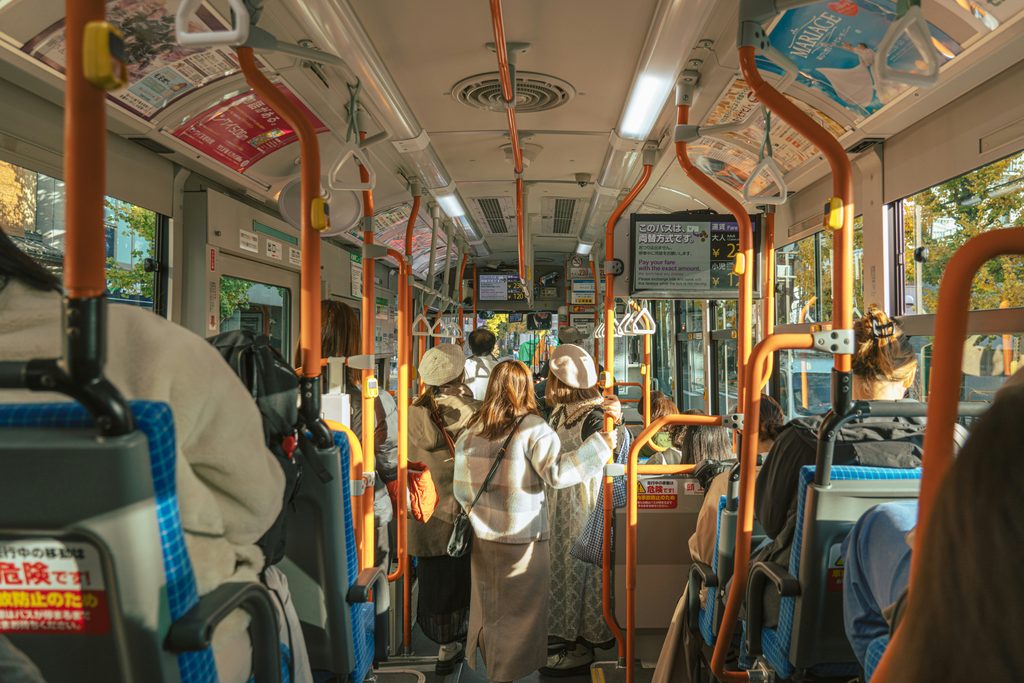
Avoid Bringing a Large Suitcase If Possible
If possible, avoid bringing a large suitcase onto a regular local bus. Unlike airport limousine buses and highway buses, regular local buses are not designed with large luggage in mind.
The interior can be tight, with limited space in the aisles and around the doors. Routes serving tourist destinations can also become crowded, and a large suitcase can easily get in the way of other passengers as they board, get off, or move through the bus.
When possible, consider using coin lockers at the station, luggage storage services, or luggage delivery services to your accommodation. If you have no choice but to bring a large suitcase on board, keep it clear of the aisle and doors, and make sure wheeled luggage is firmly under your control so that it does not roll around.
In Rural Areas, Check Your Return Bus Before You Go
If you are taking a local bus into the countryside or mountains, it is important to check your return bus before setting out, not just the bus going there.
- The return bus stop
- The return departure time
- The last bus of the day
- The bus before the last one
- Accepted payment methods
One thing that is especially easy to miss is that the return bus stop may not be directly across the road from where you got off. It may be a short distance away, or it may even have a different stop name.
Google Maps and similar services are useful for planning routes, but they may not always reflect same-day cancellations, detours, or seasonal service changes. Once your travel date is set, check the bus company’s official website as well for current timetables and service information.
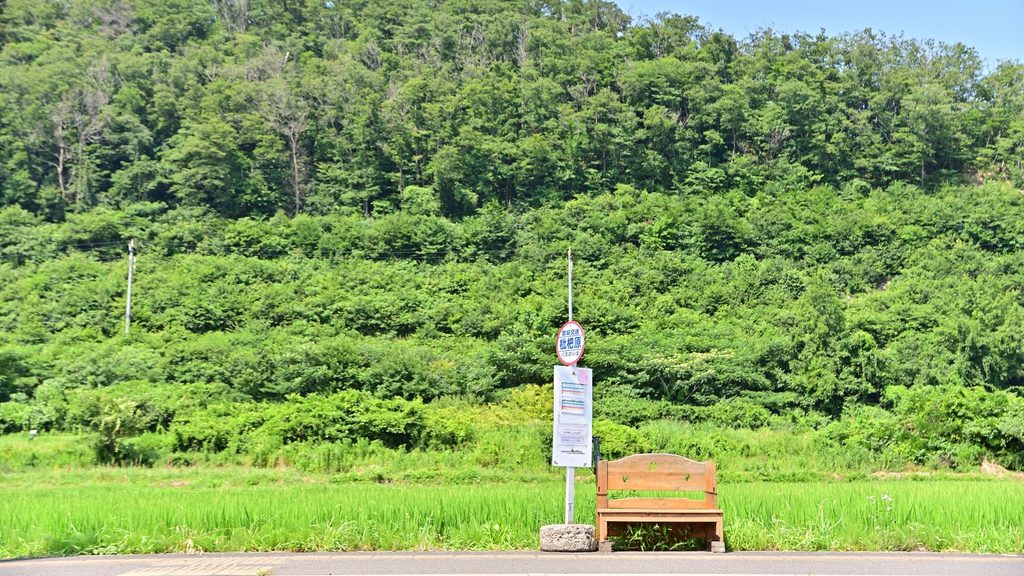
Local Buses Can Open Up More of Japan
Local buses in Japan may look a little complicated at first, but you do not need to memorize every rule in the country.
- Check the information at the bus stop.
- Look at the destination display on the front of the bus.
- Check which door is marked “Entrance.”
- If there is an IC card reader, tap your card.
- If you are paying cash and there is a numbered-ticket dispenser, take a ticket.
- Press the stop button before you get off.
If you remember this basic sequence, you will be able to manage many local bus routes without difficulty. A little farther from the rail network, you will find a different side of Japan: small towns, hot spring villages in the mountains, quiet shrines and temples, lakes, and waterfalls.
Once you know how to use local buses, a few more of those places come within reach.